Days of EQ Tweaking, Then One Room Measurement Fixed the Bass: SweetVox V2.0 and an Ordinary Mic
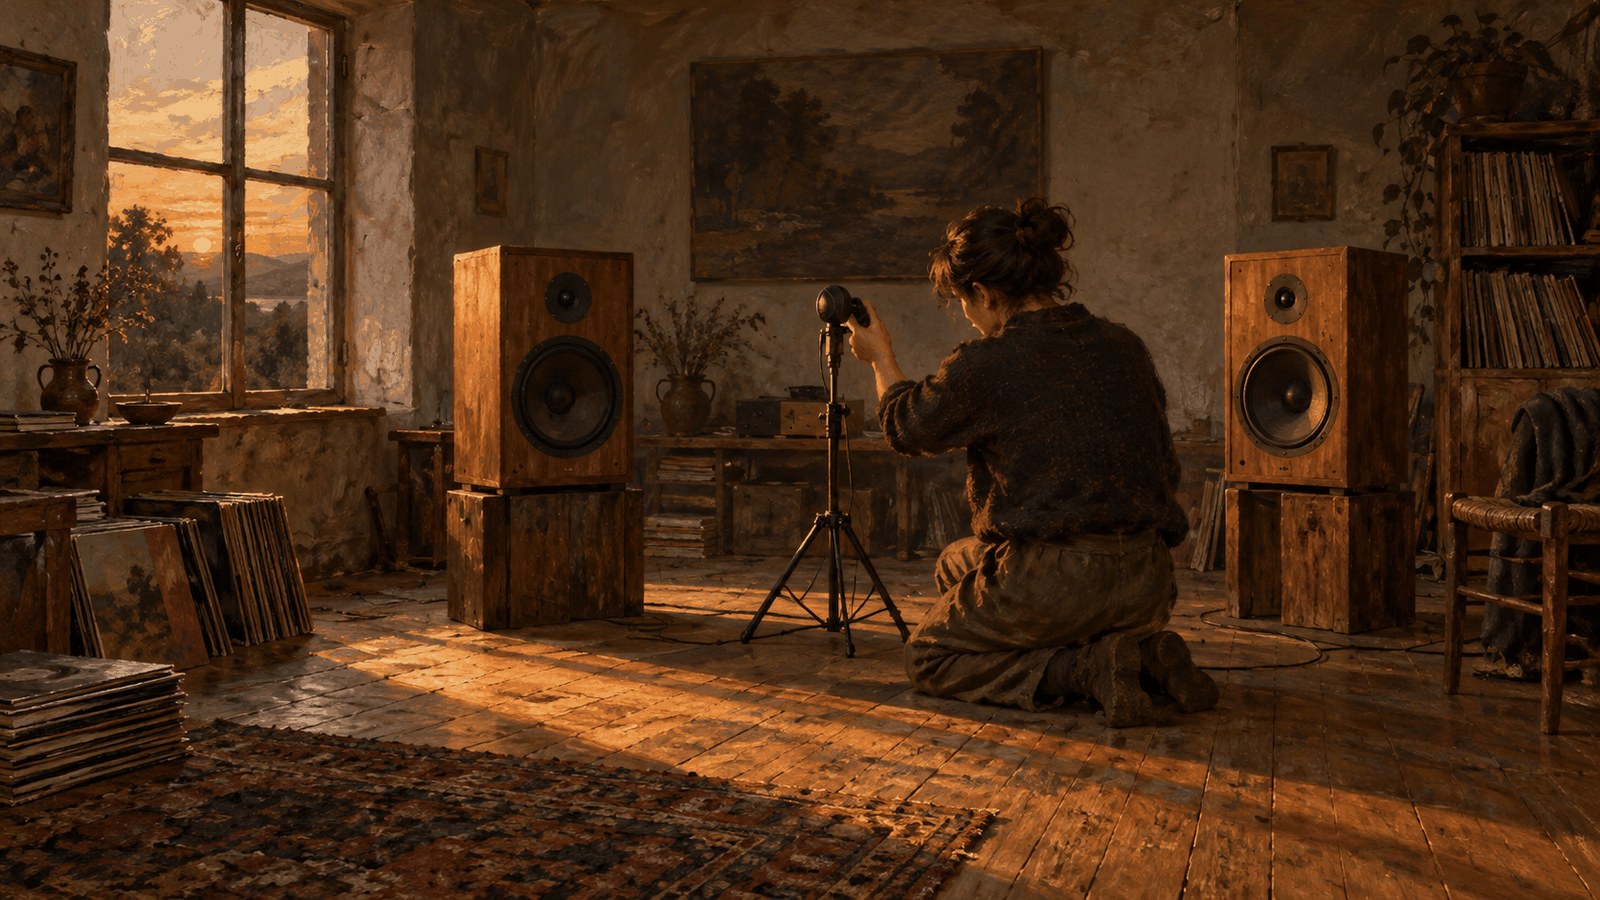
On October 8, 2026, I used an AI assistant to rebuild SweetVox, my homemade audio mixer, into V2.0. I'd spent days nudging the equalizer within ±2 dB. What finally took the sound from good to great was measuring the room with an uncalibrated microphone: 63 Hz went from +9.0 dB to +0.1 dB. Here's the case for and against, eight steps you can follow, and the open-source code. A technical learning share.
Contents
- What SweetVox is, and what changed
- The case for: measuring the room was the biggest win
- The case against: three weak spots
- Where I land: each objection has an answer, starting with calibrating the ruler
- Before the room: six paths I ruled out over two weeks
- Measuring your own: the eight steps, condensed
- One thing to take with you
You have heard the piping of the earth, but not yet the piping of heaven.
— Zhuangzi, “Discussion on Making All Things Equal” (Warring States period); translation mine
On October 8, 2026, I rebuilt SweetVox, the Windows audio mixer I made for myself, into V2.0. For days before that, an AI assistant and I had been fine-tuning the equalizer in ±2 dB steps. The change that actually took the sound from good to great came from a single room measurement with an ordinary, uncalibrated microphone: the room was boosting the whole 63–200 Hz band by 6 to 14 dB, and two very narrow filters shaved the peaks off (63 Hz went from +9.0 dB to +0.1 dB). That result only holds for my room and my seat, so a different room needs its own measurement. The code and the steps are on GitHub if you want to measure yours.
What SweetVox is, and what changed
SweetVox is a small tool I built in September, and there’s a web version to play with on the lab page. Under the hood it uses Equalizer APO, a free system-wide equalizer, to split the left and right channels into “center” and “sides.” Singers are usually mixed in the center and the backing track spreads to the sides, so turning the sides down a little brings a female vocal forward.
By late September I had turned “how far forward the vocal sits” into a single knob, and added an audiophile mode and a piano mode. The days after that went into fine-tuning those settings. V2.0 adds a “room correction” section with two cut-only sliders, one for 63 Hz and one for 125 Hz. Pressing a mode button doesn’t reset them, because they belong to the room, not to a listening mode. I also tucked away a few controls that testing showed did nothing, which cleaned up the main screen a lot, and added a “Methodology” page so the reasoning behind each setting lives inside the program.
Two terms in plain words first. dB (decibels) is the volume scale; a 6 dB difference is roughly what your ear hears as “clearly louder.” Hz (hertz) is pitch, and 63 Hz is the kick-drum and bass range you feel in your chest.
The case for: measuring the room was the biggest win
The AI assistant wrote one line on the Methodology page that I really like: “We were fixing a cracked wall with a magnifying glass.”
Rooms sing on their own. Bass wavelengths are long (one cycle at 63 Hz is about 5 meters), and as they bounce around an ordinary room, some frequencies pile up and get louder while others cancel out. The pile-ups are called standing-wave peaks. Here’s what I measured: 63 Hz boosted by about 13 dB, 125 Hz by 6 dB, and deep dips right next door at 40 and 50 Hz.
So every ±2 dB move I’d made on the equalizer was sitting on top of a +13 dB peak. It was like spending days smoothing the tablecloth on a crooked table.
The fix wasn’t to cut the bass across the board, either. That was exactly our first attempt: a wide low-frequency filter cutting 5 dB. It flattened the peak and dug a hole next to it. So we changed approach. We worked backward from the measurement to estimate what the room was doing, then had the computer solve for the best parameters, including how wide or narrow each filter should be (that’s the Q value; higher means narrower). The answer was counterintuitive. 63 Hz needed a very narrow Q of 5.0, because it’s a sharp spike with a dip right beside it, and a wide cut just makes the dip deeper.
Here are the three approaches side by side:
| Approach | How the bass sounds | Problem |
|---|---|---|
| No correction | Boomy and muddy, vocals buried | About +9 dB too much at 63 Hz |
| Wide cut (whole low end −5 dB) | Peak is under control | A hole at 80–160 Hz, sounds thin |
| Narrow notches (63 Hz Q5.0 −13, 125 Hz Q1.4 −10) | Clean, still has body | Room to add +2 dB of low-end warmth back |
After applying it I measured again. 63 Hz went from +9.0 to +0.1, 125 Hz from +6.3 to +1.3, and everything from 63 to 200 Hz landed within ±4 dB. For the first time in three days, the measurement, the prediction, and what my ears heard all agreed. And this step took less time than any of the earlier rounds of tweaking.

The case against: three weak spots
I wanted to poke holes in it too, because “sounds great” is my ears talking, not an instrument.
First, the mic isn’t calibrated, so can the curve be trusted? A typical phone or headset mic has its own peaks and dips and colors everything it records. A proper measurement mic costs a few thousand NT dollars, and I don’t have one.
Second, flat isn’t the same as pleasant. Recording engineers and audiophiles both know that a lot of the sound people love isn’t flat; a bit of extra bass is what gives it warmth. Flattening the room might remove exactly the thing that made it enjoyable.
Third, it only works in one spot. Standing waves are tied tightly to position. When we moved the mic 50 cm and measured again, the average bass level shifted by 4.0 dB. Sit somewhere else and the correction may be wrong, and moving house means starting over.
There was also a trap we really did fall into. On the first measurement, I wore the headset mic on my head and walked over to flip the switch myself. The error in “on” minus “off” averaged 3.18 dB, about the same size as the equalizer’s own curve (3.43 dB). That ruler couldn’t measure anything. It even got the sign backward.
Where I land: each objection has an answer, starting with calibrating the ruler
The first objection, an inaccurate mic, is handled by subtraction. Measure once with the equalizer on and once with it off, then subtract. The mic’s quirks, the speakers’ quirks, and the room itself all cancel out, and what’s left should be exactly the equalizer’s design curve, which you can calculate. That makes it a test for the ruler. With the mic fixed on a stand, the switch flipped by a script, and nobody in the room, the error dropped from 3.18 dB to 0.84 dB, almost four times smaller. Only once the ruler was accurate did I measure the room.
Then how do you tell which parts of the curve are the room and which are the mic? Move the mic 50 cm and measure again. Standing waves depend on position, so they change; the mic’s own character doesn’t, so it stays the same. In practice the bass shifted by 4.0 dB after the move, which means room, while the treble shifted only 1.2 dB, which means mic. So the +7.9 dB bump at 6.3 kHz is the microphone, and you shouldn’t try to correct it. I think this is the easiest mistake in the whole method to make, and the most valuable one to avoid.
The second objection, flat isn’t pleasant, is why the ears get the final say. We also only cut peaks and never filled dips. The deep dips at 40 and 50 Hz are sound waves cancelling each other at the listening position, so however much power you push in gets cancelled too, and the speaker just works harder for nothing. After the correction I even added 2 dB of low-end body back. A straight line was never the goal.
The third objection, one spot only, is simply true. There’s no fix, so I accept it. The mic sits where my head is when I listen, which means the correction is for my ears in this seat. If I sit somewhere else, I measure again, and that takes twenty minutes.
So I’m on the side of measuring, with one condition: first prove the ruler is accurate. Otherwise any “room curve” you get is fiction.
I also did something the skeptic would appreciate. The same day, we took the vocal setting I’d originally picked by instinct (2.5 kHz pulled back 6 dB) and pitted it against 300 parameter sets. I blind-listened to five candidates and ended up choosing the original. The vocal layer was already in its sweet spot. All of this round’s improvement came from the room. The vocal didn’t move any further forward.
Before the room: six paths I ruled out over two weeks
This post might read like “measured the room, fixed in one go.” It wasn’t. From September 22 to October 8, the AI assistant logged every path we tried, with the dead ends written up in as much detail as the ones that worked. In the end only two things survived: the layer that brings the vocal forward, and the room correction. About 80% of the time went into everything else. I’ll go through six of them, because each one only made sense after we measured.
1. A great number that was measuring something else. When the first layer was done, the vocal measured 7.42 dB louder than the backing track, against a 3 dB target. A big win. Two weeks later, deciding whether “AI vocal separation” was worth building, we compared its +3.00 dB against that and concluded the AI was worse and not worth it. Then we realized the two numbers used different rulers. The 7.42 was “center versus sides,” but in pop music the kick, bass, and snare all sit in the center too. Re-measured as “vocal versus accompaniment,” the first layer came out at just +0.07 dB, and the AI was actually ahead by about 3 dB. A wrong number is more dangerous than no number. With no number you go and measure; with a wrong one you jump straight to a conclusion.
2. I said it got worse, and the numbers were worse than I said. In late September I complained that the sound was “clearly worse after going through the software.” When we measured the settings from that time, the stereo image had nearly collapsed to mono, distortion was 66 times higher, and the overall level was 10.9 dB quieter. The fix was to pull the sides back only in the vocal band instead of across the whole spectrum, and to turn the tube-warmth effect off by default. I also learned that when comparing two settings, the louder one always wins, so you match the volume first and compare second.
3. AI vocal separation worked, I liked how it sounded, and I still switched it off. The first version used an offline model with 1.5 to 2 seconds of latency, 30 times over the 50-millisecond target, so real-time was structurally impossible. A small model built for real-time got latency down to 29 ms with only 3.4% CPU, and every metric passed. Then it crackled as soon as it went through the real speakers. After several rounds of chasing, the real cause turned out to be my USB DAC. Asking it for a sample rate it doesn’t handle well (44.1 kHz) made it drop off the computer after about 130 seconds, and it only came back after a power cycle. That’s the hardware’s temperament. The algorithm was fine. So it’s disabled, and the code stays in the repo.
4. A lovely idea that measurement talked me out of. Use the AI only as a detector: push the vocal forward while someone is singing, and give the stereo width back during instrumental breaks. Detection was accurate, but the overall math lost. The vocal came forward 0.5 to 1.3 dB less, in exchange for just 0.31 dB of stereo width. Pop songs have someone singing almost the whole time, and the “not singing” gaps are fractions of a second between words, so there’s nothing to give back.
5. One layer never got started, and that was the right call. The original plan included a Chrome extension as a second layer, estimated at two or three days. The first layer already covered how I actually listen to music, so two or three days wouldn’t have bought anything new, and I didn’t write a single line.
6. A day spent searching 300 parameter sets, ending with the original being right. I mentioned this above: I blind-listened to five files and picked the one I’d set by instinct. That day wasn’t wasted. It closed off “keep tuning the equalizer” as an option and pushed us to look at the one part of the signal chain we’d never measured: the room.
There were also some purely technical traps along the way, like changing settings after installing a virtual audio cable without rebooting first, a test script that stopped itself, and reading the “device not present” status code as “device disabled.” They all share one lesson: when you’re stuck, suspect the measuring tool before you suspect the thing being measured. All thirteen failures are written up on GitHub in docs/tuning-log.md.
Measuring your own: the eight steps, condensed
The full version is on GitHub at docs/room-measurement.md, and the Methodology page inside the program has the same content. You’ll need any microphone, a stand, and twenty minutes.
- Turn off all of the mic’s “enhancements.” To check, play something louder and confirm the recording gets louder too. We once saw louder playback produce a quieter recording, which meant automatic gain control was still on and the whole measurement was meaningless.
- Fix the mic where your head is when you listen, and don’t touch it again.
- Check the ruler first: measure with the equalizer on and off, subtract, and the result should match the design curve.
- Turn the equalizer off and measure the room with a 25-second sweep tone.
- Move the mic 50 cm and measure again to separate the room from the mic.
- Correct peaks only. Leave the dips alone.
- Work back from the measurement to the room’s original curve, and let the computer solve for the parameters, Q values included.
- Apply, measure once more, and let your ears make the final call.
The program comes with three small tools: room_sweep.py runs the sweep measurement, set_bypass.py flips the equalizer on and off from a script (so nobody has to walk into the room), and set_param.py changes one parameter at a time. They’re all open source under the MIT license.
One thing to take with you
When a problem won’t budge, check whether your ruler is accurate before you check the thing you’re measuring. We spent days on the equalizer because it never occurred to us to measure the room, and the first room measurement failed because we hadn’t proven the ruler could measure anything.
Here’s a small exercise for today. Pick something you’ve been adjusting over and over without ever being satisfied, like a spreadsheet, a daily routine, or the taste of a dish, and ask yourself one question: is the thing I use to judge whether it got better actually accurate? Test it once on an example where you already know the answer, and then decide whether to keep adjusting.
Comments
Loading comments…